If you choose to edit multiple reports, be aware that all and only the changes you make will be applied to all the reports you select for edit. When in doubt, edit reports one at a time. |
If you choose to edit multiple reports, be aware that all and only the changes you make will be applied to all the reports you select for edit. When in doubt, edit reports one at a time. |
Effects of functional security The Report Access functional security access you set for a security group must be at minimum “Can View” before the related object security is applied. For information on modifying the functional security rights of security groups, see “Managing security groups” |
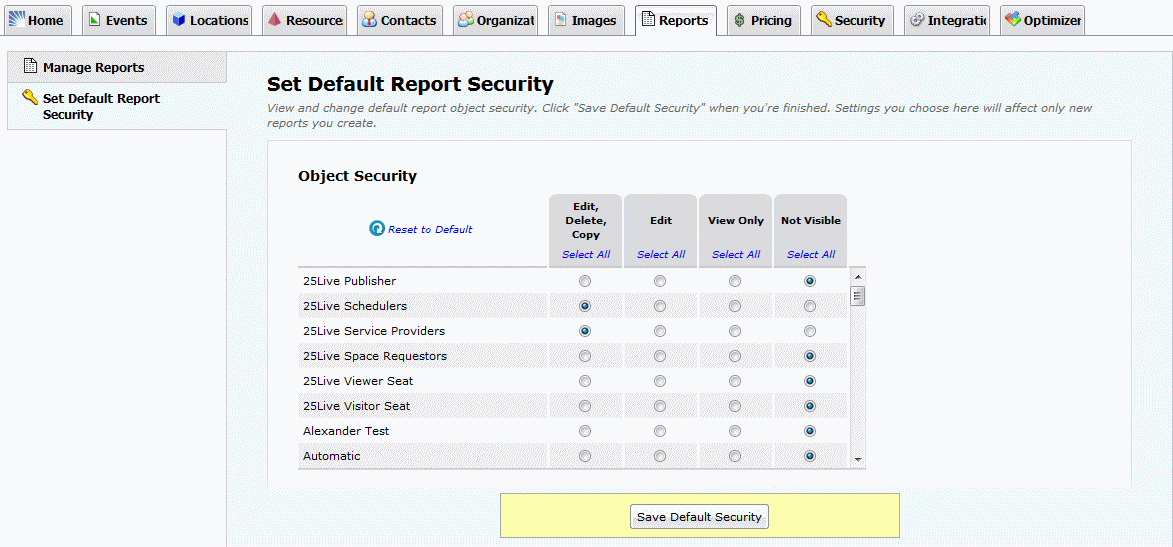
Default report object security defines the object security access permission each security group has to newly created reports. If left unchanged for a security group, the object security system default of “Not Visible” applies, meaning that members of the group won’t see any new reports that are created. See “Default object security and assignment policies” for more information. |
 |